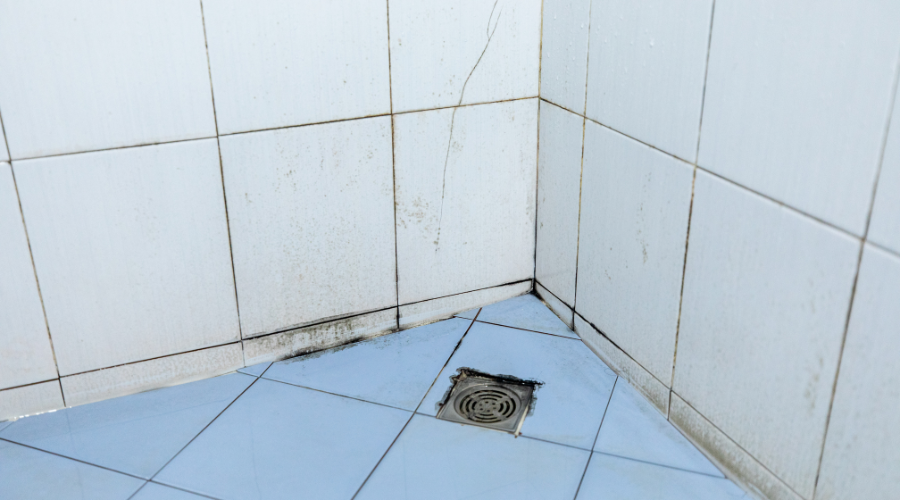
Mold thrives in areas with warm temperatures, moisture, and poor air circulation, so you need to be wary of the potential for mold growth in areas with these conditions. As such, it is not uncommon to find mold in basements, bathrooms, kitchens, and laundry rooms on walls and ceilings, between tiles, and on caulking.
Mold on grout is a common occurrence in bathrooms, kitchens, and other household areas. In fact, it can be found on almost any porous surface. However, it may not be easy to see mold until it has rooted itself deep into your tile, stone or grout lines. This can cause discoloration that spreads through the entire area and can be very difficult to remove.
Why does Mold grow On Grout?
Grout is made of a variety of materials, including marble, ceramic, cement and terracotta. Mold can develop on grout because of a number of different reasons. Dark color grout is notorious for trapping moisture, making it more prone to mold development. High humidity and water leaks from your faucets create conditions that encourage the growth of mold. A professional should inspect your grout and make a recommendation based on its condition.
Mold Removal for Grout
If you find mold growing on grout in your home, you can take action to clean it up yourself. Removing mold from grout can be done through various do-it-yourself techniques that use common household items.
Baking Soda
The advantages of using baking soda to remove mold are that it doesn’t pose any health hazards and it will not discolor or harm tiles. However, it doesn’t clean mold as effectively as other products.
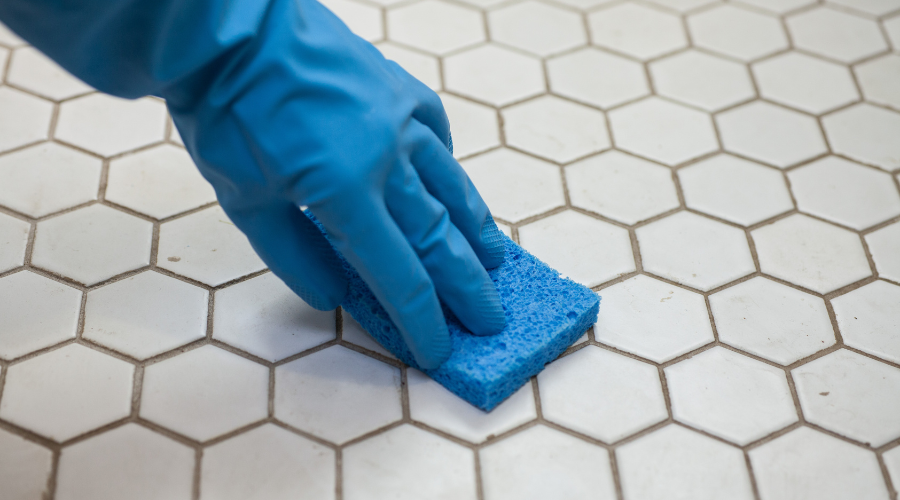
- Method 1: Dampen a sponge and dip it into the baking soda. Use the sponge to scrub the grout and tiles. When finished, rinse the tiles and grout with warm water.
- Method 2: Create a paste that consists of several teaspoons of water and ½ cup of baking soda. Once combined, apply the paste directly on the tiles and grout where there’s mold growth. Wait 10 minutes, and then use a bristle brush to scrub the paste. Rinse it down with water, and repeat the process if necessary.
- Method 3: Combine a gallon of water with ½ cup of baking soda in a spray bottle, and spray this mixture onto the areas affected by mold. Let the spray sit for 30 minutes before using warm water to rinse down the tiles and grout.
Bleach
Bleach is an effective product for do-it-yourself mold removal because it kills mold spores and eliminates soap residue. It even acts as a disinfectant. However, bleach can cause discoloration and fading, so you shouldn’t use it if your tiles and/or grout are colored.

For mold detection and mold removal services in San Francisco or San Jose area, call ServiceMaster at (800) 439-8833.
Bleach also gives off harmful fumes that can irritate your skin, eyes, and respiratory tract. So if you do use it, be sure to wear protective gear: safety glasses, a mask, and rubber gloves. You should also ventilate the room by opening windows and leaving them open for a few hours to ensure the fumes are no longer present.
- Method 1: Scrub the affected areas using bleach and a stiff bristle toothbrush. Wait 15-30 minutes until rinsing the bleach off with warm water. If the affected areas are still not clean, repeat the process.
- Method 2: Combine four parts bleach to one part water in a spray bottle, and spray the solution on the affected areas. Let the solution sit for 30 minutes, and then use an old toothbrush to scrub the tile and grout. Rinse the solution off with cool water, and if necessary, repeat the process until thoroughly cleaned.
Hydrogen Peroxide
Hydrogen peroxide may be the best item to use for do-it-yourself mold removal because it’s very effective at killing fungi and bacteria. Unlike bleach, it won’t produce harmful fumes, but it can cause fading and discoloration.
- Method 1: Create a paste by combining white flour and hydrogen peroxide. It will result in a thick paste that you then apply to affected areas. Let the paste sit there overnight, and then use cold water to rinse it off.
- Method 2: Place hydrogen peroxide in a spray bottle, and spray it onto the affected areas. Wait at least 10 minutes before rinsing and wiping down the tiles and grout.
- Method 3: Use the hydrogen peroxide in conjunction with baking soda by applying a baking soda paste onto the affected areas. Carefully pour some hydrogen peroxide over the baking soda paste. It will start to fizz, loosening the mold from the tile and grout.
Salt
Dampen a cloth, and sprinkle salt onto it. Then use the dampened cloth to scrub the grout and tiles. Allow it to stay that way overnight before rinsing off the salt with water the next morning.
Vinegar
Vinegar is acidic, so it can prevent bacteria growth and be used for removing mold from grout. Create a solution of equal parts water and distilled white vinegar, and place it in a spray bottle. Spray the solution onto affected areas of the grout and tiles. Let it sit for 30 minutes before scrubbing it with a bristle brush. When you’re done scrubbing the affected areas, rinse off the solution with warm water. Repeat the process to achieve the best results.
Mold Safety – How To Look For Mold – ServiceMaster Video
Mold has the potential to harm you and your family with negative health effects, and it can also jeopardize your home’s integrity if the damage is severe enough. Knowing this, you should do whatever it takes to prevent mold growth on grout surfaces and know how to remove mold if it does develop.
How to keep shower grout from molding?

For professional mold removal services in San Francisco and throughout the Bay Area, call us at (800) 439-8833!
Shower grout can turn black and moldy when moisture stays in the tile and grout after you take a shower. The longer it stays wet, the more likely mold will grow. To keep shower grout from molding, use these simple tips to dry your tile and grout after each shower.
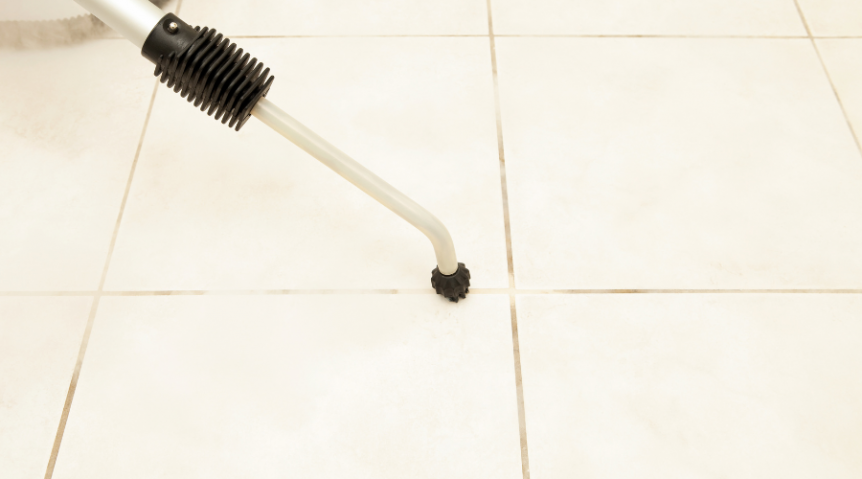
The easiest way to make sure shower grout doesn’t mold is to clean grout lines regularly. During the shower, simply scrub the grout line with an abrasive pad on a long-handled scrub brush. Use an antibacterial cleaner on the tile floor and walls, and make sure no water pools around the drain. When you’re done with your shower, dry off immediately so steam doesn’t leave water behind. Another way to prevent mold from growing in your bathroom is by installing a bathroom extractor fan.
Keep your shower mold free by preventative measures like cleaning every week or bi-weekly, using a bleach solution to kill bacteria and dirt on surfaces, and sealing your grout effectively.
If you have mold growing in your bathroom then it’s time to get serious about making the grout unstuck. You need to find the wetness and remove it. The fastest way to do this is with a product called moldline. This product works by absorbing moisture from the grout lines and allowing them to dry up.
Mold Prevention in Grout Surfaces
Air Circulation
After showering, run your bathroom’s exhaust fan for at least 20 minutes to get rid of steam and other excess moisture in the room. Additionally, open your bathroom window if the weather permits and leave it open for at least 15 minutes post-shower to allow moisture to escape to the outside. When you’re not using the shower, leave the shower door open so it can air out.
When cooking, open your kitchen windows so that any steam that is produced has a place to escape.
Anti-Mold Products
If you redo the paint or grout in your home, consider using mold-resistant grout and paint so that it’s more difficult for mold to develop on such surfaces.
You can also create an anti-mold spray to further prevent mold growth on shower and kitchen tiles. Combine equal parts water and white vinegar in a spray bottle, and spray the solution onto the tiles at least once a week.
Cleaning and Drying
Hang dry your towels so that they can thoroughly dry and not contribute to any humidity and moisture concerns in your bathroom. When you’re done showering, eliminate excess moisture by wiping down the shower walls, door, and floor. You can wipe down your shower walls with a washcloth, a hand towel, or a squeegee.
Also clean and dry the tiles on a regular basis by scrubbing them down. This can minimize the potential for mold growth. If you opt against regular cleaning, the tiles will build up soap scum, which can trigger mold growth. In addition, draw out the shower curtain and liner to dry.
Repairs
If you need to seal grout, use a grout that’s mold-resistant. One example of such is silicon-based grout; it doesn’t get as wet as normal grout, and it dries quicker. These qualities also make for good protection against microbes like mold.
If there are any leaks in your home, have those fixed immediately to prevent excess moisture and wasted water.
Professional Mold Removal
While there are various do-it-yourself methods to take when removing mold from tile and grout surfaces, there are some instances in which it is too much to handle on your own. The mold may affect a large area, DIY techniques may not be sufficient, or you may just prefer that a professional handles the cleanup.
Mold Safety – Why You Should Call a Professional for Mold Removal – ServiceMaster Video
ServiceMaster Disaster Restoration and Cleaning can remove mold growth from your tile and grout surfaces with our mold remediation services. Our trained and certified technicians can address any level of mold growth and safely remove the mold with advanced techniques and equipment.

Steve VanDenBerg is the owner of ServiceMaster Disaster Restoration and Recovery. He has over 30 years of experience working within the restoration industry and successfully leading start-ups, turnarounds, acquisitions and mergers, and rapidly growing companies.
Steve earned his BS in Business & Accounting from Calvin University in Grand Rapids, MI and began working for DSI Holdings as their Chief Financial Officer. When Steve began with DSI Holdings, they were running an underperforming ServiceMaster Restore franchise with one location. Steve implemented new policies and procedures for accounting and finance as well as a professional sales plan that increased profits eightfold over his time as the CFO. He was then promoted to President and CEO and in this time, he expanded the company from two locations with $4M in sales to 12 locations and $45M in sales. DSI Holdings became one of the largest disaster restoration companies in the U.S. and helped with major restoration projects throughout the U.S. and around the world.
Steve purchased ServiceMaster DRR in 2015 when the business was in decline. Drawing on his years of experience in turning around struggling ServiceMaster franchises, Steve overhauled our operations, including finance, sales, and marketing, which led to a quick turnaround. Within Steve’s first 24 months, sales increased by 60 percent. Steve also helped greatly improve our operating margins and established a relationship with California’s largest residential insurance company. Under Steve’s leadership, we have become one of the largest disaster restoration providers in California.
Steve has found great success in turning around struggling and stagnant restoration franchises by changing the business model and strategy, greatly increasing sales and profits. Many of the changes he has implemented have even been adopted by the franchisor into their operating model.


